
May 15, 2020
My Photography
While I am interested in many kinds of photography and have dabbled in a few, the kind of photography that I am drawn to most is portraiture because, if done well, a single image can tell an entire story and express a lot of emotion – it is also the kind of photography that is the hardest for me, so I am constantly learning.

Getting married and the birth of my children has given me the chance to work with them as portraiture subjects. While I do still take pictures of Erin, I am focused each day on the kids, taking at least one picture a day with them. It is a labor of love, but can be a chore, and when it is a chore, photography can become lazy. At different times I have worked on improving my technique and you can tell in the quality of the pictures when that is happening. I read a blog recently that was called 5 Tips for Shooting Better Photos of Your Kids which has inspired me to document my own process as tips, though most of the tips are good for most photography. I am sure I will amend this as I learn new things, but for now here are my thoughts:
Capture the moment
As a father, I have to say this first – don’t miss your time with your kids because you are always behind a viewfinder; that being said, your kids are not going to stage the best moments, they will happen at any time, and while some posed photos are beautiful, I am of the “capture the moment” school of photography when it comes to my kids. Also if ,as said before, your photography becomes a chore, your pictures will suffer; have fun and love what you are doing.
1. Carry a camera everywhere. If you read anyone’s tips, they say practice all the time, this means thinking like a photographer even when you are not shooting pictures, and having a camera handy in case you do want that picture. Phone cameras are good for that kind of thing, but I almost always have at least the backup point and shoot and do indeed carry the DSLR plus heavy lens almost everywhere.
2. Know your equipment. You can get great images with almost anything, but if you know what your camera can do, you can optimize your timing to get the shot. I shoot with a single prime lens that defines my look for my images, but it needs a little TLC, wide open you can accidentally focus on the nose and have the eyes blurry.
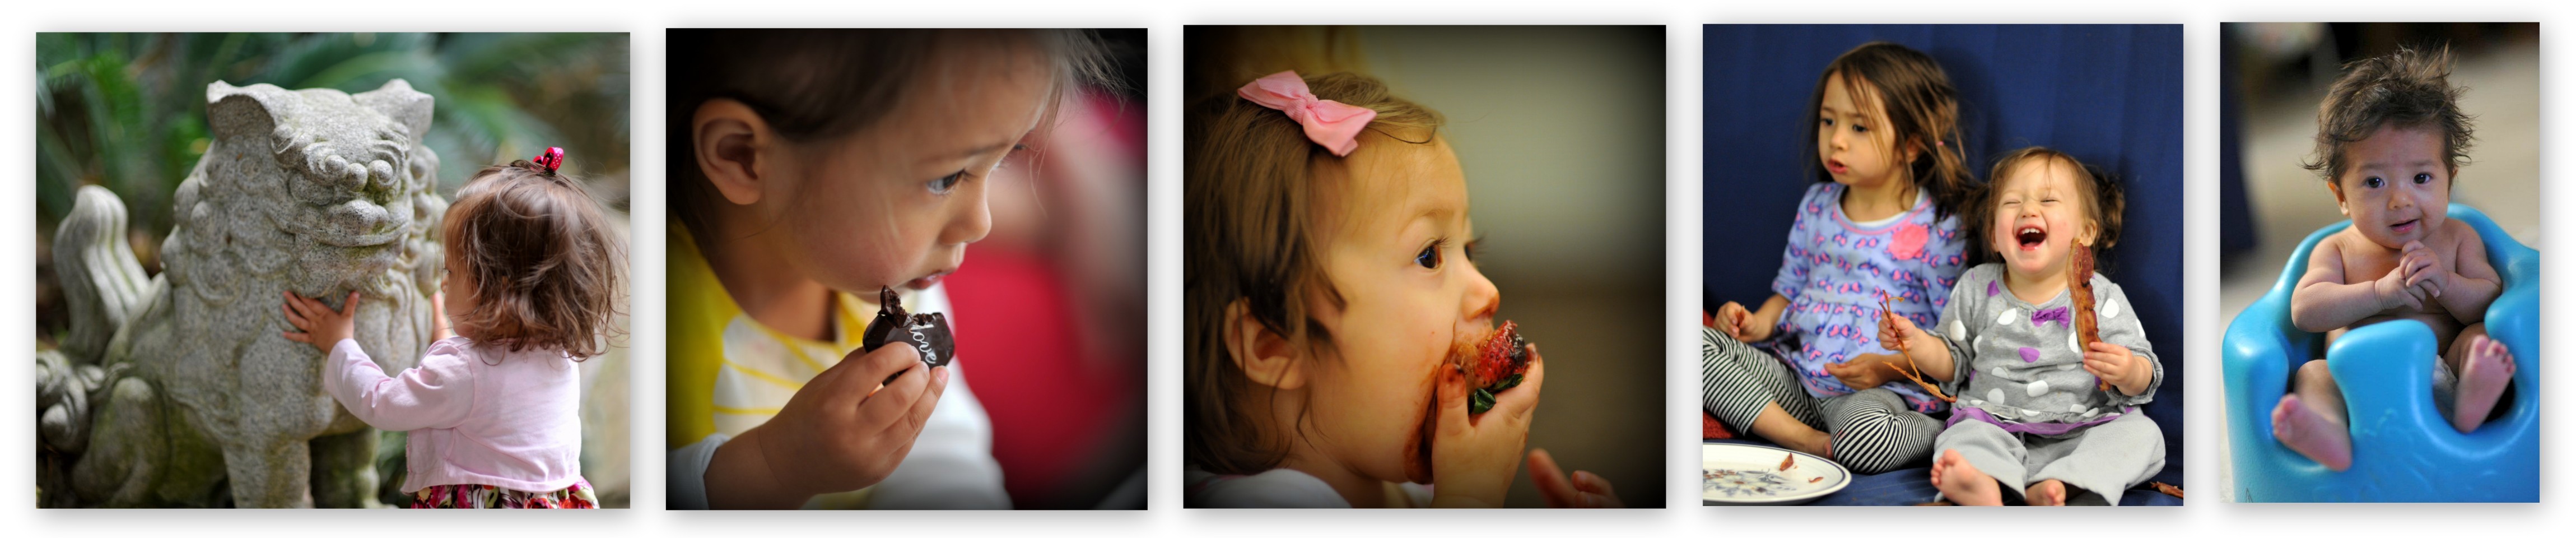
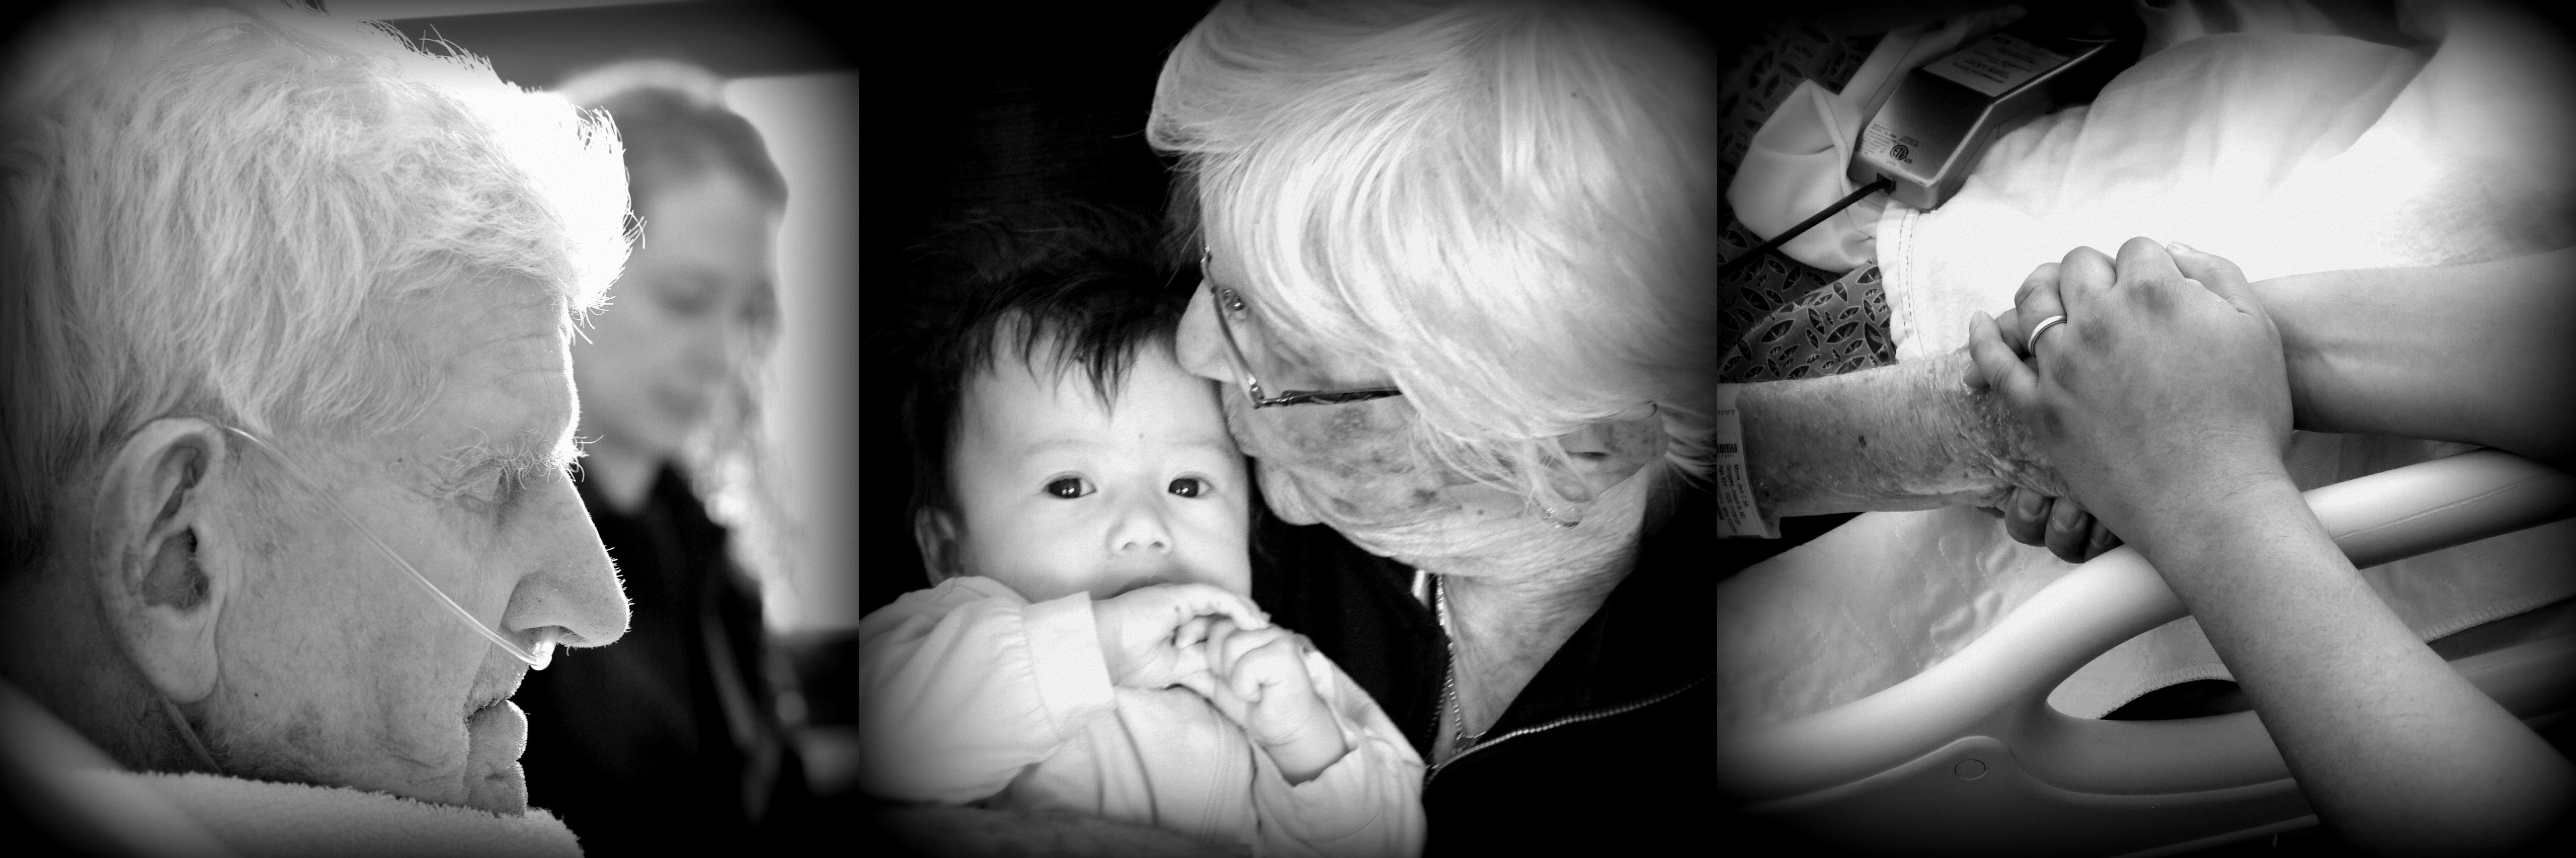
3. Sometimes not in focus is better than missing the emotion. We want every picture to be perfect but if you focus on that you will miss the grin or laughter or the action. While there are purists who shoot 100% in manual, I prefer to think of my DLSR as the best point and shoot ever. I set the camera to what might be the best for the situation and then focus on actually catching the picture and adjusting as necessary. Here is a crazy thought for some of your less than perfect pictures though: everything looks better in black and white. Turn it black and white, use the Holga filter and make it artistic (The fourth picture below is the blurry bacon picture that everyone liked so much. And the collage at the bottom had pictures that weren’t ideal, but were made more striking with the black and white and the Holga filter).
4. Shoot a lot of frames to catch the moment. Now a lot of people introduced to photography in the digital age use this adage as their composition technique, kind of a shooting everything and hoping to capture the image, but as I say in marketing training, hope is not a strategy. I shot film first so I was trained to compose in camera. Both are important, composition is still key, but shooting a lot of frames sometimes means catching the twinkle in the eye when your infant is smiling.
Composition and Technique
When you take pictures you are capturing the moment to preserve for posterity, so whenever possible, tell a story. Look to see what is being captured and what you want it to mean when someone looks at it later. It can be as simple as my child smiles a lot and I want to remember that, or it can be as complicated as an opus. The point is to be intentional when you can, and fast enough to catch what you can.
1. Shoot at their eye level. This is strangely the best piece of advice I ever read on photographing kids and pets. By simply crouching down and shooting at their eye level, you get their perspective as well and tell the story immediately. Most pictures of kids are shot down from the height of the parent, their world is much more interesting at their level (You can’t see Elia’s face in the first picture above, but it tells a great story. The last picture above of Curie would not be the same if I had not lain on the floor to shoot it).
2. Focus on eyes. Sometimes you are shooting the back of your child or something which obviates this tip, but if their eyes are available, focus on them, windows to the soul, as they say. Also, even if everything else is blurry, if the eyes are in focus, the picture will look good (can you tell that the picture of Elia eating the strawberry is blurry except for the eyes?)
3. Isolate. When someone says a picture looks professional they usually are referring to the fact that the subject is isolated. This can mean depth of field, color, texture, or contrast. By keeping the picture free of distracting components your eye is drawn to the subject and your picture improves. One of the reasons I shoot with a bigger sensor is for the low-light capabilities, but the another is because it tends to give blacker blacks for better contrast which can help in isolating by contrast (in every picture above except the bacon one, I used depth of field, color, and texture to isolate the pictures).
A quick foray into blurring the background: the wider the aperture the narrower the depth of field, meaning shoot with f 1.2 – 2.8 and blur the background (yes you can use a Photoshop plugin to achieve this effect, but it takes a lot more time). This lens does not have to be expensive. The standard 50 mm f 1.8 is usually under $200 and because people no longer shoot with the 50 mm lens you can get some very good images. I shoot with an 85 mm f 1.4 that costs $1600 new (I paid $800 for it), but in retrospect I could have bought the 85 mm f 1.8 for $400 and gotten almost the same images. I like the semi-telephoto lens for portraiture because it flattens faces and minimizes noses SO if you are not shooting full frame, the 50 mm behaves like a 75 mm or 85 mm lens already. So 50 mm f 1.8, $200 or 50 mm f 1.4, $400. I should note that another way to blur a background is to track your subject as it is in motion, blurring the background.
A note about bokeh: this is the quality of the blur in the background. Once thought as an ineffable quality prized by the Japanese, it is now embraced by photographers everywhere. Bokeh is created in part by the number and shape of the iris blades (this also tells you what shape lights appear in your pictures). Older Canon 50 mm f 1.8 lenses only had 5 blades that weren’t rounded so had terrible bokeh, the Nikon 50 mm f 1.4 and 1.8 and the 85 mm f 1.8 have 7 rounded blades, so the bokeh tends to be very nice. The new Canon 50 mm f 1.8 just announced has 7 blades (their f 1.4 has 8). The Nikon 85 mm f 1.4 has 9 rounded blades and has a very creamy bokeh, which is why I haven’t sold it and still shoot it as my primary lens. Nikon actually has a few defocus coupling (DC) lenses that let you focus the bokeh itself, but that is a whole another purchase I can’t yet afford. More than you ever want to know about bokeh can be found here.
4. Pay attention to distracting backgrounds. This refers not only to the tree or leg growing out of your subject’s head, but also colors and other objects that pulls the eye away and distract.
5. Nodes and Diagonals. Compose elements with the nine squares leaving space sometimes to make the shot. This is a basic composition technique and you can look it up on the internet, but basically if you pretend there is a tic-tac-toe on your screen, your subject should be on a node (where the tic-tac-toe lines cross) and elements in the picture should run diagonal through the nodes if possible, using the notes moves the subject off center and provides more dynamic composition (the picture of Curie eating the chocolate uses the diagonals to make the picture more interesting).
7. Fill the frame whenever possible, but don’t neglect the importance of empty space. Street photographers are known to say that if your picture is not filling the frame you are not close enough. While you can always crop and edit (and you should), getting the best shot in the camera gives you the best odds of a great picture after cropping and editing.
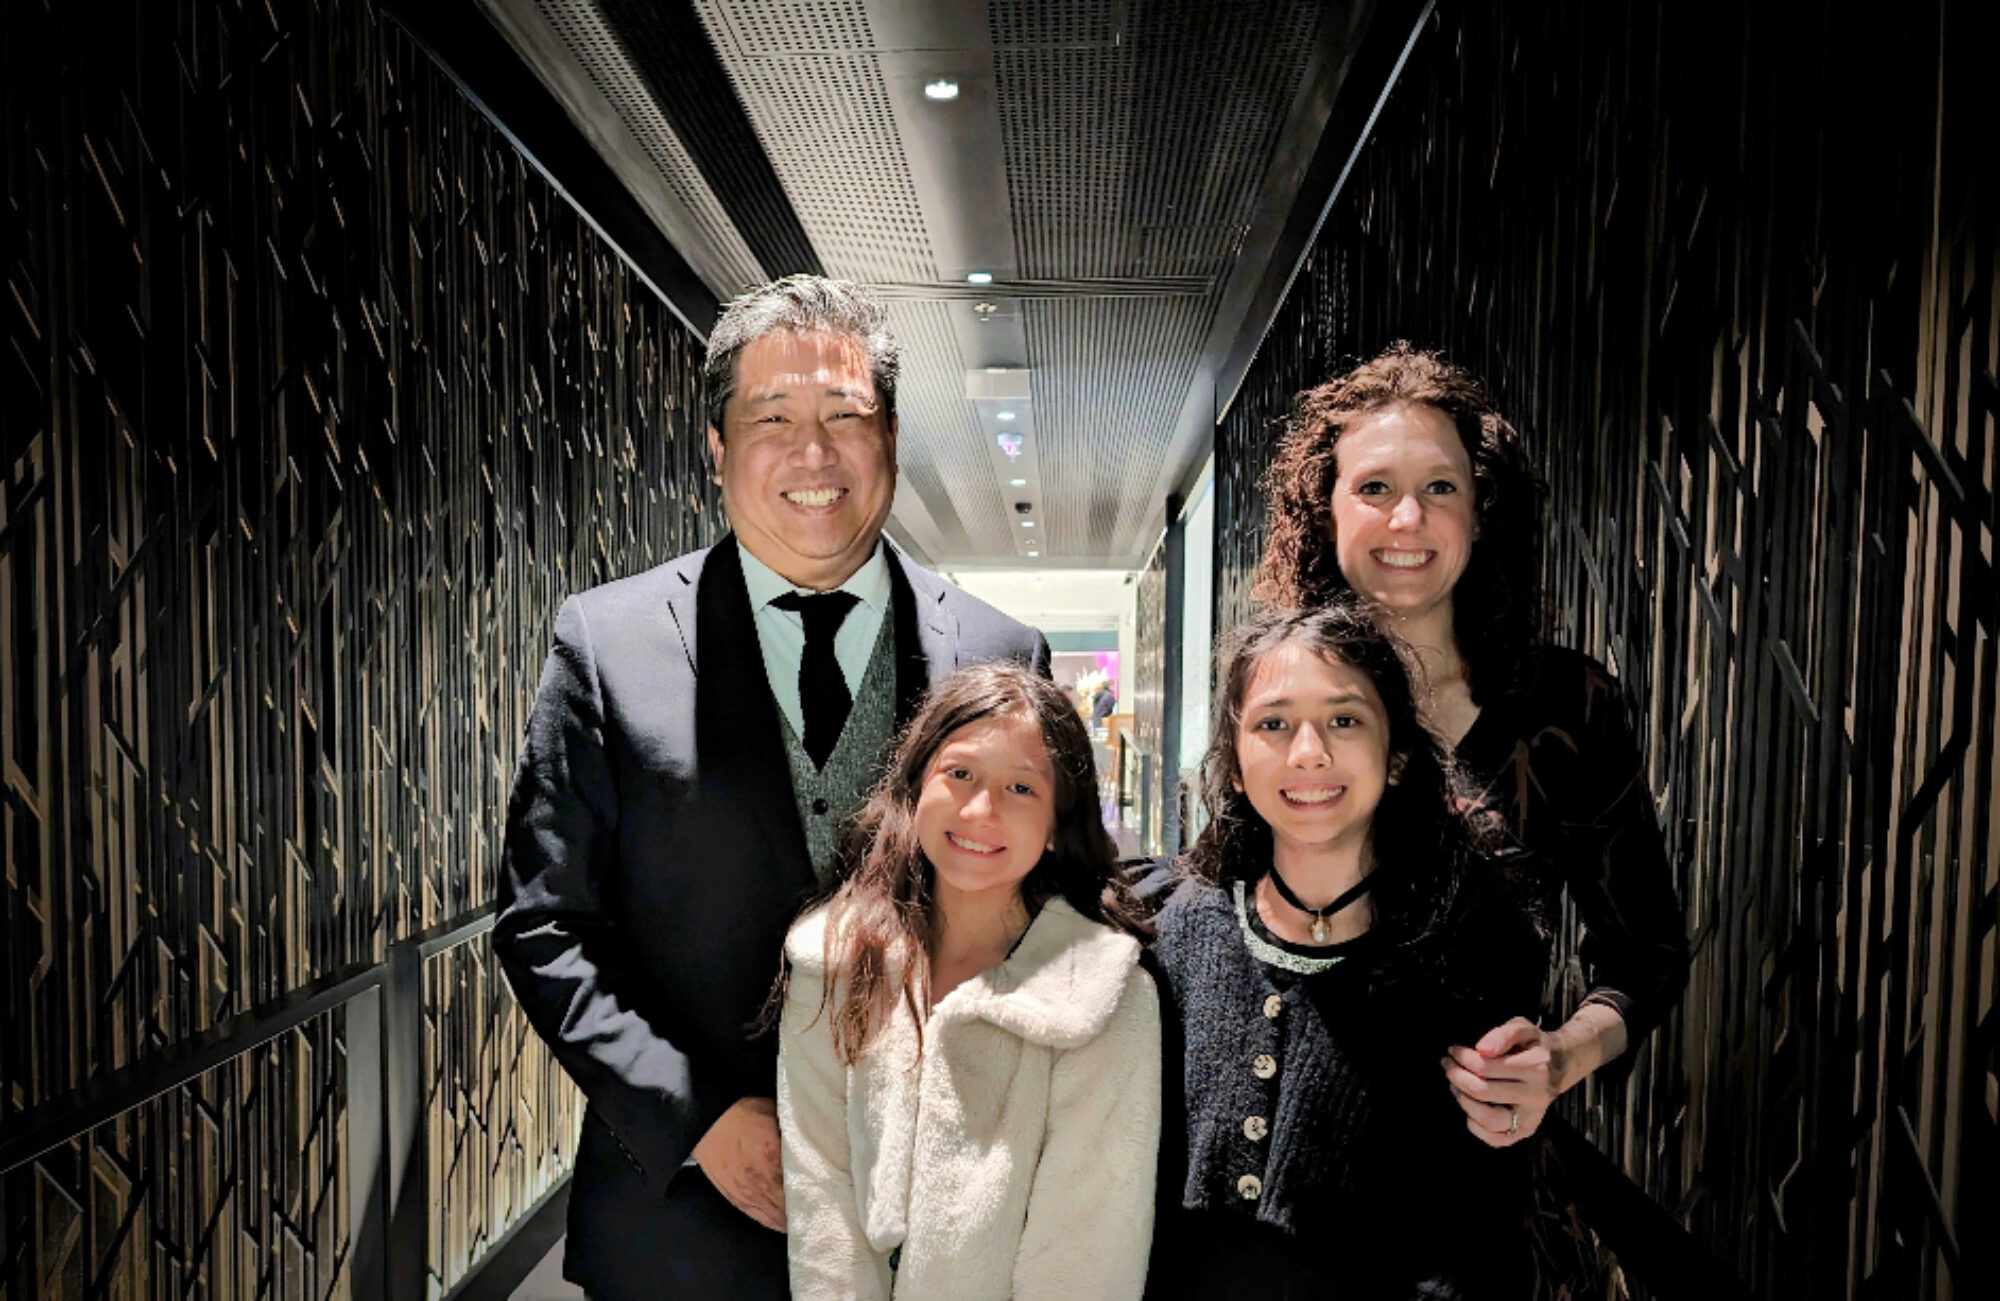
8. Use the light. Twilight and sunrise have what photographers refer to as the golden light, or the ideal lighting. Diffused and reflected light also make for great portraiture, simply have your subject near a window and you will see what I mean. But while diffused and reflected light is great, don’t be afraid of shadows to add some drama to your picture, or make it part of the picture (the Erin pictures at the top were to illustrate the lighting point. The first two are with window lighting, the first with fill flash, the third using shadow, the last with the photographer’s light right before sunset).
9. Frame. A little like isolate, but often when the child is looking through something, sitting under a tree, or looking at a window or mirror, you can use the surrounding items to frame the subject. Intentional vignetting can also be used to frame (Curie and Elia eating chocolate have intentional vingetting applied to them as do the pictures below).
10. On occasion, collage. Some people ask why I do so many collages. One is to defeat Facebook from using my kids pictures, but the real reason is that it often tells a more complete story.
One note: I also am not a purist and shoot high resolution JPEG and post-process with filters in Picasa instead of RAW and Photoshop because I shoot a lot of pictures and I don’t know Photoshop all that well yet. Someday that may change, but for now my workflow works for me. That means in-camera composition is all the more important as no amount of post-processing can capture the image.
Technical Settings
My favorite photos are flattering, isolated pictures with character and emotion. I tend to avoid flash because I don’t understand it yet, and handhold since I do want to capture the moment. Because I shoot most of my pictures in the house before and after school, and I don’t shoot flash, most of my pictures are shot at relatively high ISO (1600 normally) and wide open to give me the blurred effect from the depth of field (f 1.4). My lamps in the living room are daylight bulbs and pointed at the walls and the blinds are translucent to give that light box effect when the sun is shining – all this wasn’t so much intentional as fortuitous. You can see when I shoot upstairs that I have all sorts of other problems with white balance because the lights upstairs are more yellow and incandescent. I tend to shoot in aperture priority, meaning the f 1.4 and ISO stays constant and the shutter varies, though recently I have been experimenting with auto ISO which fixes the f-stop and shutter speed and forces the camera to choose an optimal ISO. For a quick primer on the relationship between aperture, shutter speed, and ISO please click this link.
Equipment
First it must be said that the adage “it is the photographer, not the equipment” is mostly true, I have shot some of my best pictures with a point and shoot simply capturing the moment (the first picture Erin in pink, and the black and white collages are cases in point). The key is knowing what your camera is capable of . However, having the right equipment for the kind of photography you want to shoot simplifies your process and lets you focus on the moment instead of the technique as much. In fact, I shoot my DSLR using many of the automatic modes to take variables out of the equation.
My equipment at the moment is a Nikon D700 with an 85 mm f 1.4 lens as the primary camera supported outside by a Canon S120 for the wide or zoom needs of the moment, if I have both kids and one hand, or frankly as the backup piece in case I am not carrying the DSLR (I really want a bigger sensor in the point and shoot to have better low light sensitivity and depth of field. I am currently looking at a Canon G7x for that purpose). I do own other lenses as you might imagine, but I am forcing myself to only shoot with the 85 mm if at all possible to learn how to shoot it better.